

With Zoom’s New Recording trigger, you can automatically upload new recording files to other apps, like Google Drive.
Before you begin
You’ll need a paid Zoom account for this tutorial to work. Before you get started, you’ll also want to make sure you have Zoom and Google Drive configured properly.
Adjust your Zoom recording settings
The New Recording trigger only works on recordings that aren’t password protected. Before creating your Zap, make sure your Zoom recording settings are correct.
Log in to your account on the Zoom website. Click on Settings, located on the left-hand side. Under the Recording tab, make sure both Require users to authenticate before viewing cloud recordings and Require password to access shared cloud recordings are turned off.
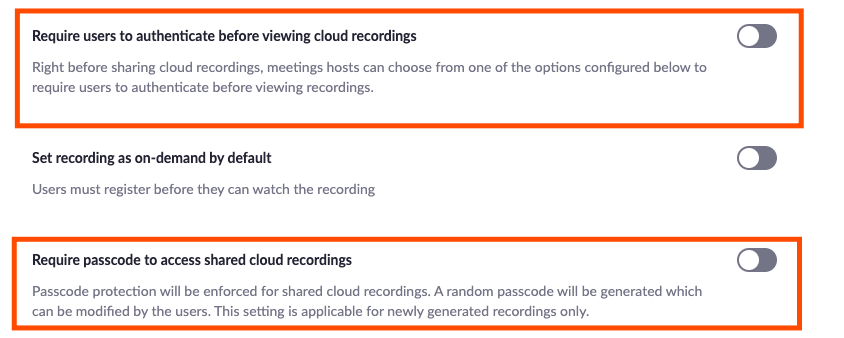
You’ll also need to ensure that Allow cloud recording sharing is turned on.

The New Recording trigger works on cloud recordings, which are available on Zoom’s paid plans. Currently, this trigger will not download password-protected meetings.
Make sure you have a cloud recording to use as sample data
If you’ve never recorded anything to the cloud with these settings in place, start up a Zoom meeting. Under the More menu, select Record to the Cloud. It can just be a few seconds, but this will help you test and make sure your Zap works the way you want. When you end the meeting, Zoom will automatically upload the meeting to the cloud.
Set up Google Drive
Before making your Zap, set up the Google Drive folder where you’d like the recordings to be saved. When you get to the last step, this will be important.
Now you’re ready to set up your Zap.
Upload Zoom recordings to Google Drive
Zapier lets you create automated workflows called Zaps, which send your information from one app to another. You can create your own Zap from scratch without any coding knowledge, but we also offer quick templates to get you started.
To start with a template, click on it here, and you’ll be taken to the Zap editor. You’ll need to create a Zapier account if you don’t already have one. Then, follow the directions below to set up your Zap.
Set up the Zoom trigger step
First, set up your trigger—the event that starts your Zap. If you’re using the Zap template, this will already be selected for you. Otherwise, select Zoom as the trigger app and New Recording as the trigger event.

Click Continue. You’ll then be prompted to sign in to your Zoom account with your username if you haven’t connected it before.
Once you’ve connected your account, click Continue.
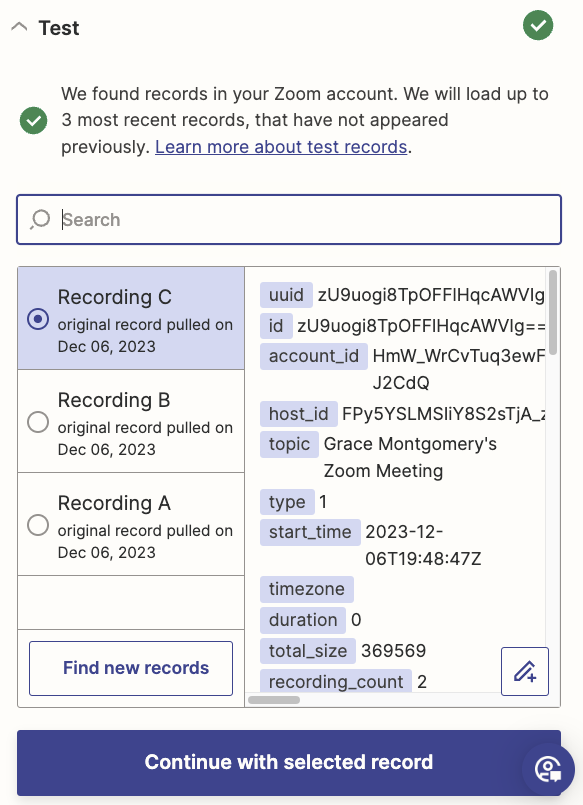
Next, you’ll be prompted to test your information. Click Test trigger. Zapier will try to find a recent new recording in your Zoom account. We’ll use this as sample data to customize your workflow.
If Zapier can’t find a new recording, create a new one in your Zoom account and test your trigger again. Though you have the option to skip the test, working with real data in your account is the best way to ensure your recording uploads correctly.
Choose which sample you’d like to use in your test, then click Continue with selected record.
Set up your Google Drive action step
Now it’s time to set up your action—the event your Zap performs after it’s triggered. Select Google Drive for your action app and Upload File for your action event. Click Continue.
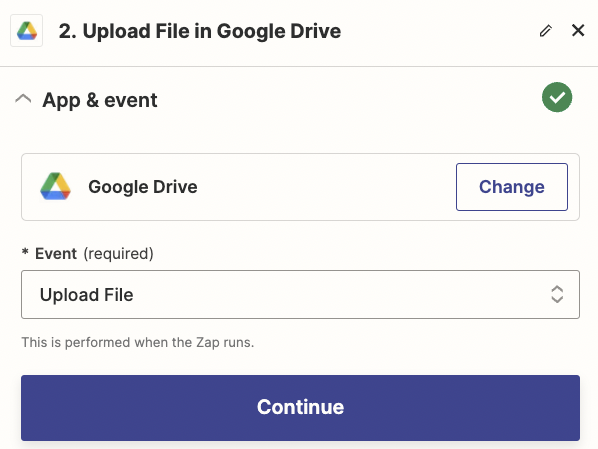
Next, connect your Google Drive account, if you haven’t connected it before, then click Continue.
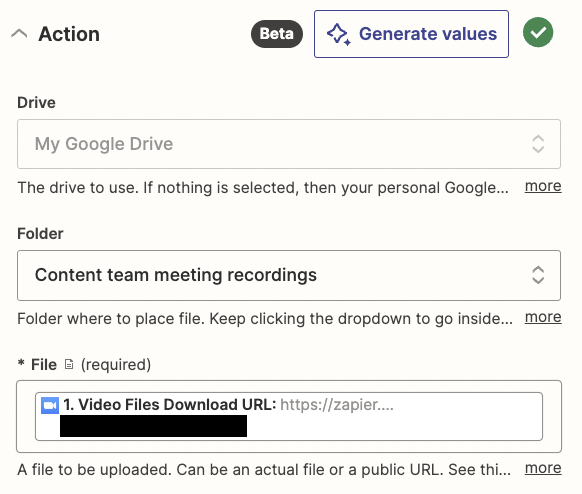
You can now customize which folder you want to upload new recordings, what file you want Zapier to upload, and what you want your file to be called.
Select the Drive and Folder where you want Zapier to upload your new Zoom recordings.
Next, you’ll need to populate The File field—the Zap won’t work if you don’t. If you’re using the Zap template, this will already be added for you. If not, click in the File field and select Video Files Download URL from the Insert Data dropdown.
Under the Convert To Document? field, click on Choose value and select False. If you were to select True, it would tell Google Drive that this file should be an editable document. Since you’re uploading a video, this isn’t what you need.
By default, Zapier will use the same name and extension as your Zoom recording for the File name field. If you want a little more specificity, you can use existing data options in Zoom, such as Start Time or Topic. To map a field, click in the field and select the available data that is listed in the dropdown menu that you want to use as your file name.

You can also enter in your own text, which will stay the same every time your Zap runs. However, you’ll still want to map unique identifiers—like the date—from Zoom so you can tell your videos apart.
Customize everything until you’re satisfied, then click Continue.
You’ll then be asked to test your Zap, which should upload a new recording to your specified Google Drive and folder. It may take a few minutes for the video to process, depending on the size of your recording.

If something doesn’t look right, go back and make any changes. Once you’re happy with everything, you can begin using your Zap.
Now, whenever you finish recording a Zoom meeting, the recording will automatically upload to Google Drive.